Z-seams are the most common surface defect on FDM prints. Here is how placement, retraction, and slicer settings work together to eliminate them.
What Causes a Z-Seam on FDM Prints
When you pull a print off the build plate and see a faint vertical line running up the side, that is the Z-seam. It is not a sign your printer is broken. FDM extruders trace closed perimeter loops layer by layer, and every loop has to start and stop somewhere. Where the start point meets the end point, a small bump or dip forms under the pressure of molten plastic.
The seam shows up for two reasons. At the stop point, residual nozzle pressure oozes out a tiny extra droplet. At the start point, there is a split-second delay before plastic flows smoothly again, which can leave a small gap. Both are normal. The goal is to control where they appear and make them as small as possible.
Five Seam Placement Modes
Every modern slicer offers options for where a layer starts. Getting this right costs nothing and makes the single biggest visual difference.
Aligned or Back seam stacks every layer start on the same coordinate. This is the right choice for flat-backed display pieces or wall mounts where the rear side stays hidden. OrcaSlicer, PrusaSlicer, and Bambu Studio all call this Aligned. Cura calls it User Specified or Back.
Nearest seam places the start point near where the nozzle finished the previous stop. It cuts down on travel moves and print time, which matters on complex multi-part models. Use it when speed matters more than cosmetics.
Random seam picks a new start point for each layer. The vertical line disappears, but you trade it for tiny scattered zits across the surface. Works best on cylinders and organic shapes where a straight line would be obvious.
Sharpest Corner seam hides the start point at tight geometry vertices. Sharp corners naturally disguise the extrusion swell. This is the default that works well for boxes, enclosures, and brackets.
Seam Painting lets you draw a forbidden or enforced zone directly on the model. OrcaSlicer, PrusaSlicer, and Bambu Studio all support it. For miniatures and props where automatic corner detection fails, manual painting is the most precise tool available.
Slicer Settings That Shrink the Seam
Once the seam is in the right place, these settings reduce its physical size.
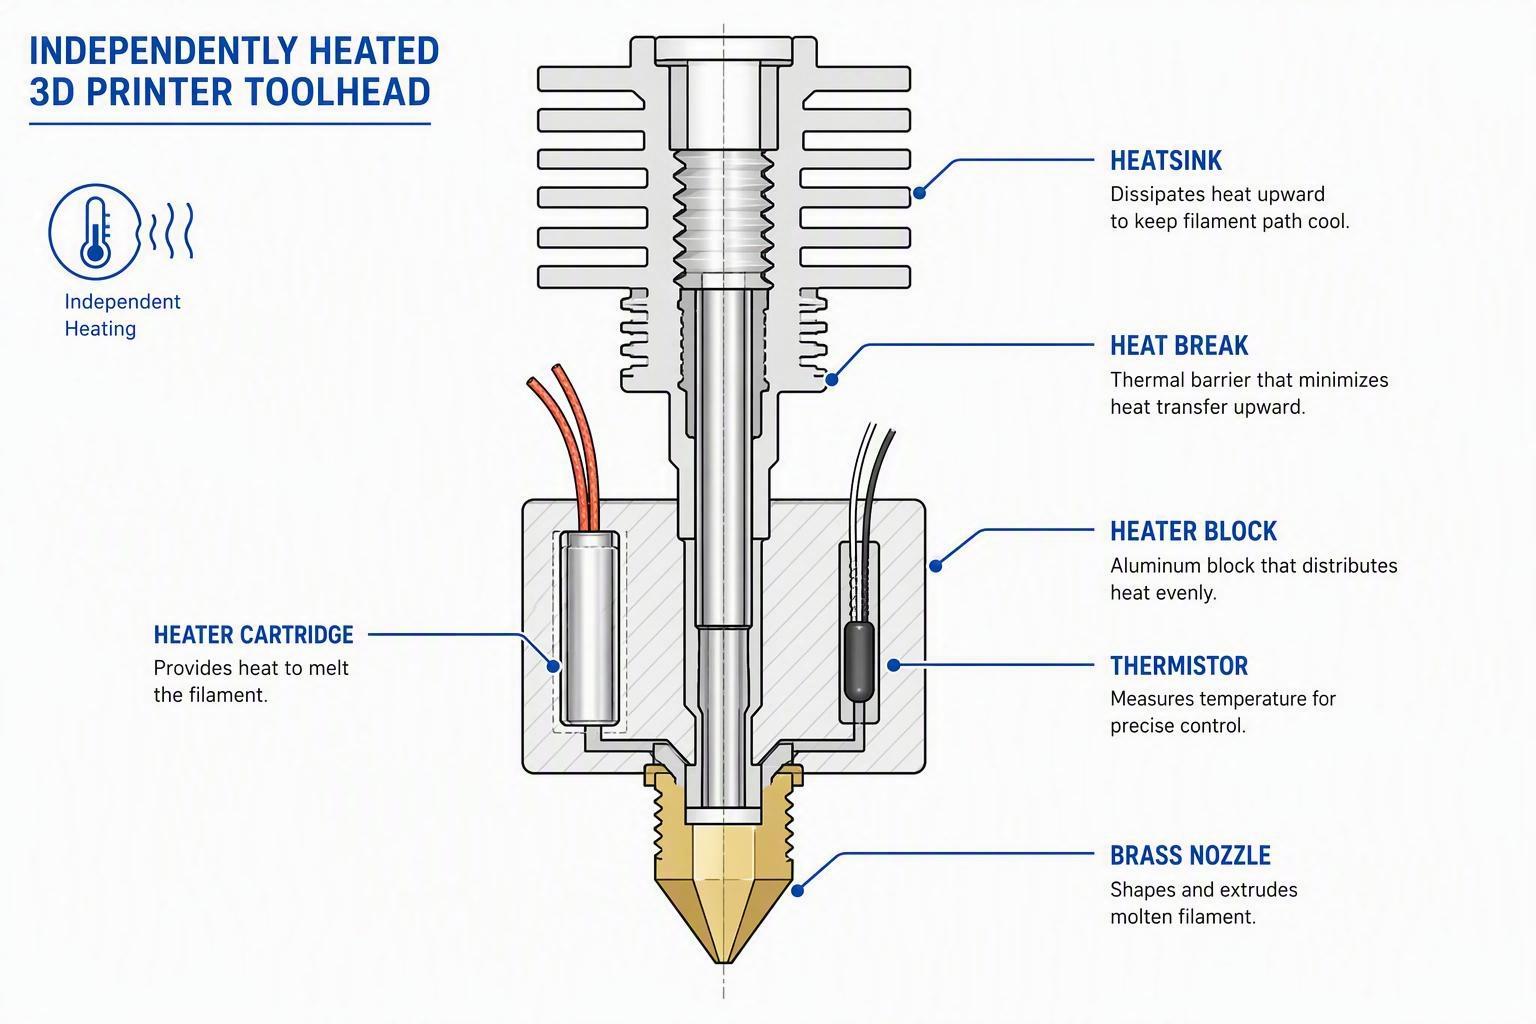
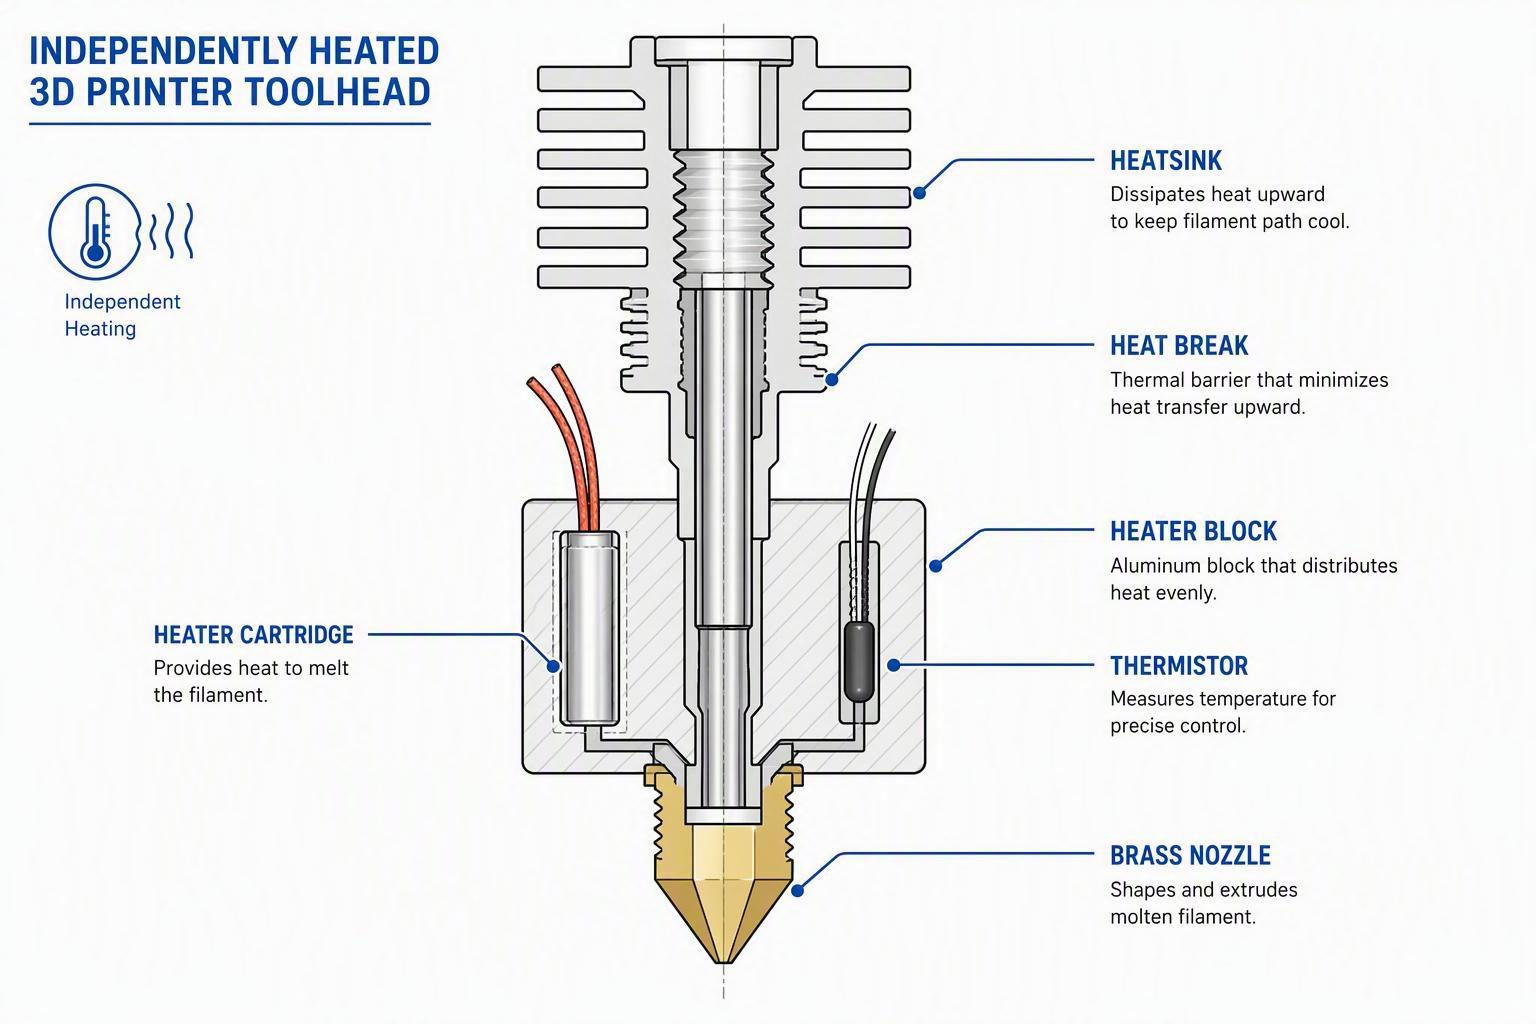
Retraction pulls filament back from the melt zone at the end of a perimeter. Direct drive extruders typically run 0.4 to 1.2 mm at speeds of 30 to 50 mm/s. Bowden setups need 2.0 to 6.0 mm at speeds of 40 to 60 mm/s. Adjust in 0.1 mm steps. If you see bumps, increase slightly. If you see gaps, decrease.
Wipe while retracting keeps the nozzle moving along the inner wall for 0.4 to 0.8 mm while retracting. This spreads residual pressure inside the shell instead of letting it ooze onto the visible exterior. Most slicers expose this as a separate toggle.
Pressure Advance (Klipper) or Linear Advance (Marlin) is the single most effective seam fix on modern firmware. It dynamically compensates for pressure spikes during acceleration and deceleration, flattening seam bumps and filling start-point gaps. Calibrating the K-factor for your specific hotend is worth the hour of testing.
Outer wall speed matters more than most people expect. Keep outer walls at 30 to 60 mm/s. Fast outer walls create pressure instability at layer transitions. Fast travel moves are fine, but the outer perimeter needs to move at a speed where plastic flow can stabilize.
Flow calibration is non-negotiable. Over-extrusion balloons seams outward. Print a 30 mm calibration cube, measure the walls with calipers, and set your flow multiplier until the measured wall matches the slicer's line width target.
Model Design Tricks That Hide Seams
If you design your own parts in Fusion 360, Onshape, or SolidWorks, you can give the slicer natural hiding spots.
Add a 0.5 mm chamfer or recessed vertical feature to an otherwise flat wall. Slicers set to Sharpest Corner will place the seam inside that recessed crease, burying it in geometry rather than leaving it on a flat face.
Orient structural ribs, screw bosses, and mounting tabs on the inside of enclosures. The intersection where an internal rib meets the outer wall creates a natural hiding spot for the layer start point.
Avoid sweeping curved front surfaces with Aligned seam mode. Curved geometry reflects light continuously, and even a faint vertical line catches the eye. Rotate the model 180 degrees on the build plate or switch to Random seam on round objects.
For high-stakes cosmetic prints, model a small sacrificial tab on a non-critical edge, force the seam onto it with seam painting, then snip it off after printing. It is crude but effective.
Sovol-Specific Settings
Sovol printers give you direct access to the firmware parameters that matter most for seam quality.
On the SV08 and SV08 MAX, both CoreXY machines with Klipper, calibrate Pressure Advance first. The planetary direct drive extruder has a short, rigid filament path, so keep retraction between 0.4 and 0.8 mm. Long Bowden-style retraction distances on a direct drive can pull plastic above the heatbreak and cause clogs. Pair the Klipper profile with OrcaSlicer's Scarf Seam feature. The combination of pressure-managed extrusion and feathered seam overlap produces clean outer perimeters even at high speeds.
On the Sovol Zero, keep outer wall speeds between 40 and 60 mm/s. Set seam alignment to Sharpest Corner for geometric prints. Use seam painting to route seams along rear structural edges on models with visible front faces.
Realistic Expectations
No desktop FDM printer eliminates the layer start and stop boundary entirely. The goal is to move it somewhere the eye does not land. Clean seam management comes down to three things: orient the part so the seam lands on a hidden face, use the slicer's corner or painting tools to bury it in geometry, and calibrate retraction and pressure advance to shrink the artifact. Get those three right and most viewers will never notice the seam at all.
Comments (0)
No comments yet. Be the first!
Leave a Comment